DreamFace

Language

En
    Language
  • English
  • Português
  • 简体中文
  • 繁體中文
  • 日本語
  • Español
  • Bahasa Indonesia
  • ไทย
  • Tiếng Việt
  • हिन्दी
  • Русский
  • Italiano
  • 한국어
  • मराठी
  • Nederlands
  • Norsk
  • ਪੰਜਾਬੀ
  • Polski
  • Dansk
  • Suomi
  • Français
  • Deutsch
  • Svenska
  • Kiswahili
  • తెలుగు
  • Türkçe
  • বাংলা
  • اردو
  • العربية
  • فارسی
  • Ελληνικά
Start Now
Chrome Store
4.9

Chrome Store

20,000,000+

Global Users

Apple Store
4.9

Apple Store

Trusted by Leading Institutions Worldwide

How to Turn a Sketch Into an Image

step 1

Prepare and Upload Your Drawing

Open GPT Images 2.5 on DreamFace and add your sketch as a reference image. For a paper drawing, use an evenly lit photo with the full sketch visible. Crop away distracting surroundings and check that the lines are easy to read.

step 2

Describe the Result You Want

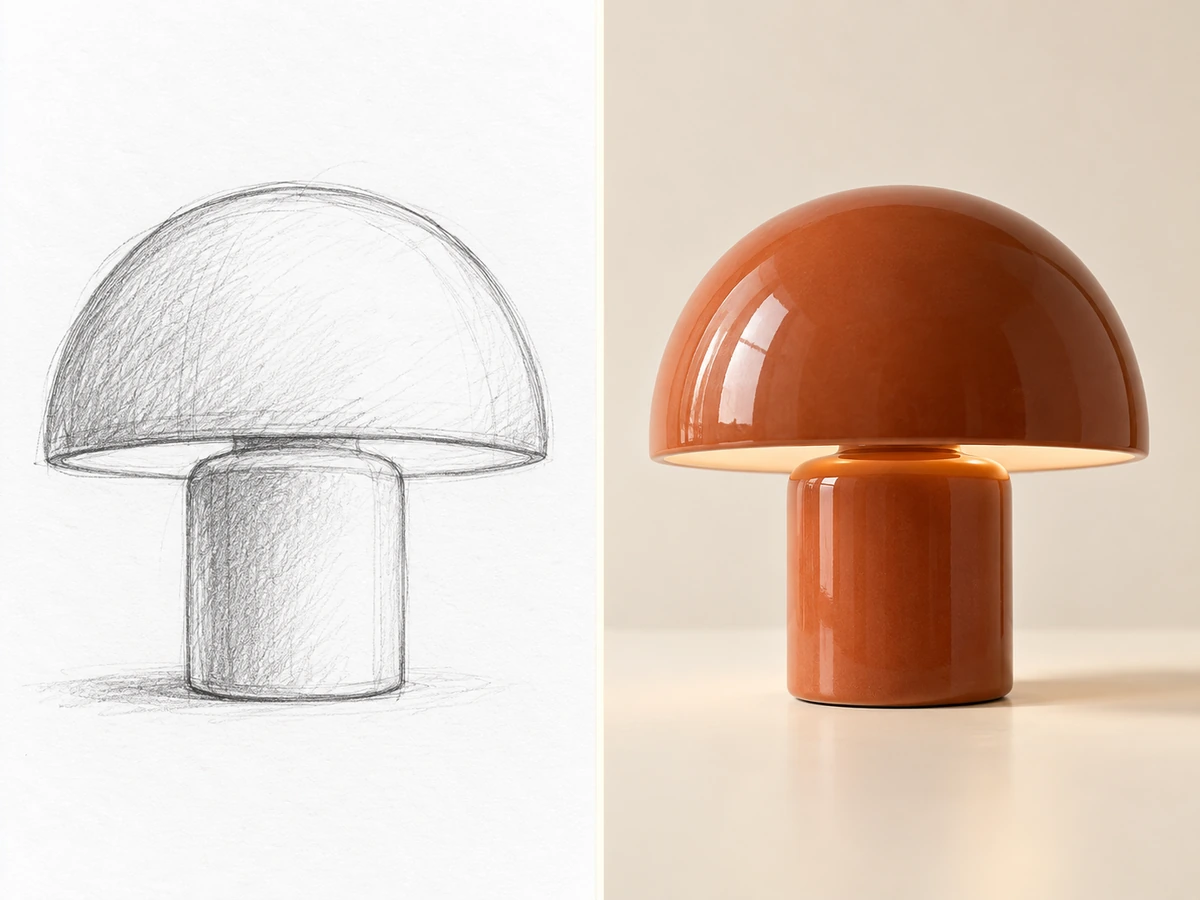
Try: "Use this lamp sketch as the shape reference. Create a realistic product visualization in glossy terracotta ceramic on a cream background, with soft studio lighting. Keep the rounded shade and short cylindrical base."

step 3

Review the Interpretation and Refine

Generate an image, then compare its outline, layout, and important details with the source. Adjust your instructions if needed and check the credit cost before another request. Download the version that best communicates your idea.

From First Lines to a Fuller Visual

Picture the Space Behind Your Room Sketch

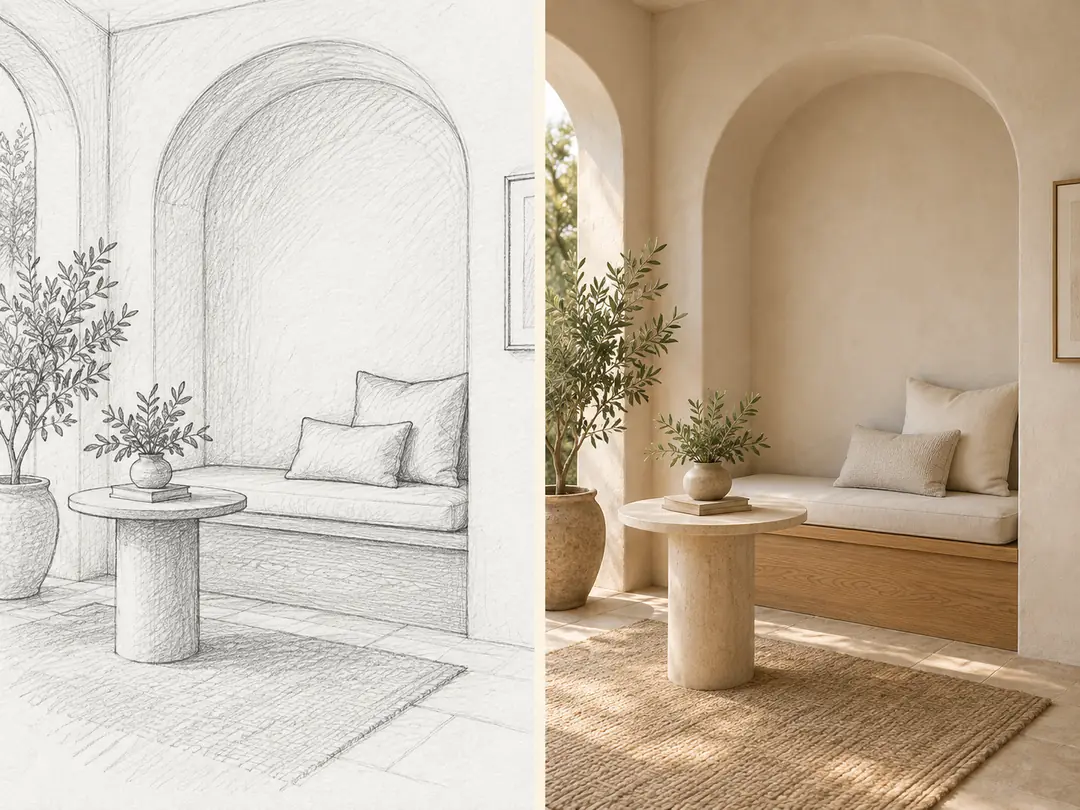
Turn an outline of a reading nook into an interior concept with oak seating, soft cushions, and warm daylight. Describe the finishes and atmosphere, and ask to retain the main layout. Use the image to discuss a design direction; it does not establish accurate measurements or construction details.
Picture the Space Behind Your Room Sketch

Explore Materials for a Product Idea

A few lines can suggest a lamp's silhouette without showing how its surface catches the light. Upload your product sketch and request a finish such as glazed ceramic, brushed metal, or matte plastic. Compare the visual interpretation with your intended shape before refining the concept.
Explore Materials for a Product Idea

Give a Drawn Character Color and Personality

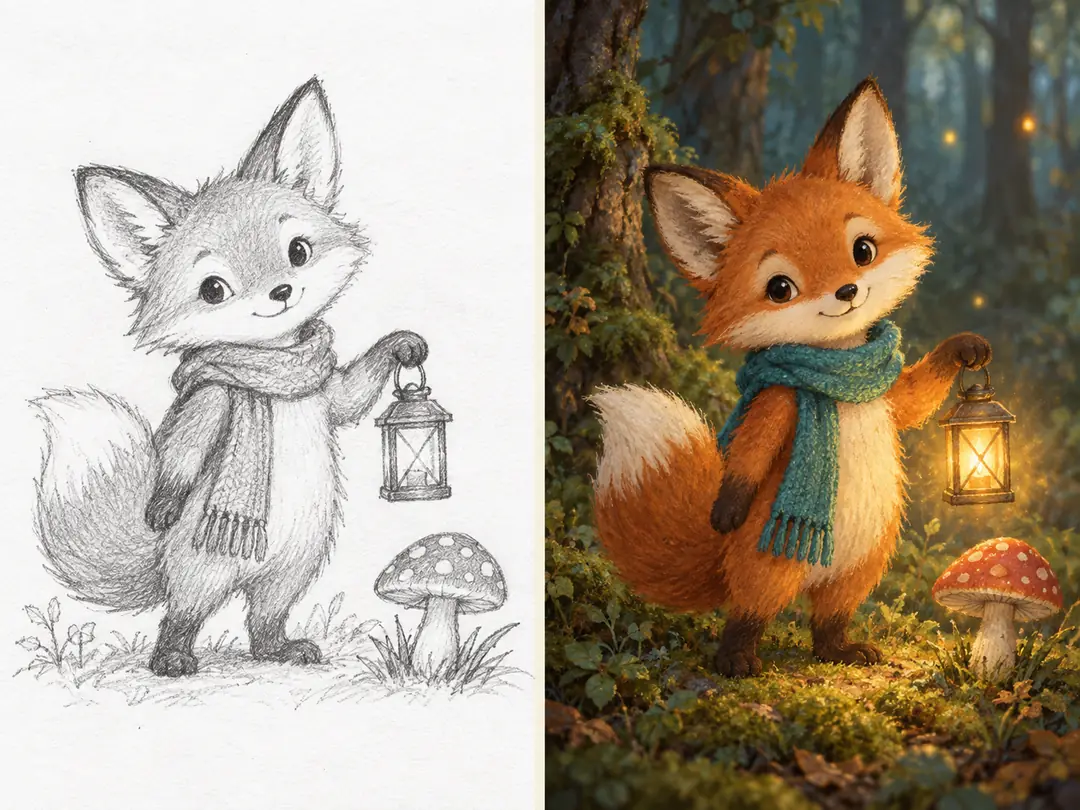
Develop a fox in a scarf, a friendly robot, or another original character from your own line drawing. Specify the palette, expression, and illustration style, and point out the pose or accessories that matter. Explore how the character might look in a story illustration while reviewing changes to its design.
Give a Drawn Character Color and Personality

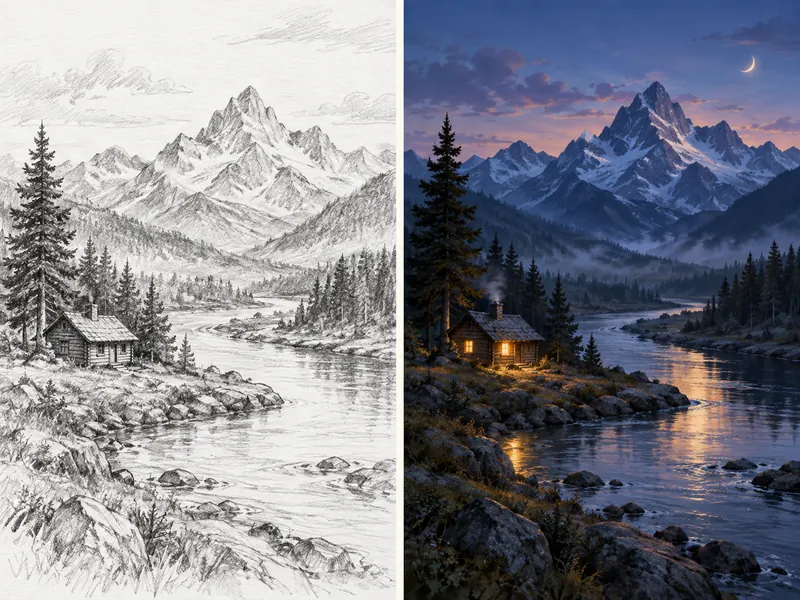
Build Atmosphere Around a Landscape Outline

Use a rough river, mountain, and cabin sketch to explain where the main elements belong. Add a prompt for blue twilight, warm window light, or a painterly finish. Your drawing supplies a compositional reference while the written brief describes the mood and details you want to explore.
Build Atmosphere Around a Landscape Outline

Frequently Asked Questions

Let the Drawing and the Prompt Do Different Jobs

Show the Arrangement

Use your sketch to communicate the subject's outline and where important elements sit. Clear contours and a readable composition give the model a more useful starting point than an unexplained tangle of lines.

Describe the Finish

Add what the sketch leaves open: wood grain, fabric color, the time of day, or a painting technique. Specific materials and lighting help distinguish one visual direction from another.

Name the Details That Matter

Tell the model which features should remain recognizable, such as a curved lampshade, an arched recess, or a character's scarf. Reference-based generation can alter shapes and proportions, so compare the result with your drawing.

Refine the Idea Before the Next Request

Decide whether the next version needs a different material, a simpler background, or a closer interpretation of the sketch. A focused revision makes it easier to judge how the concept is developing.

More Valuable Features from Dreamface

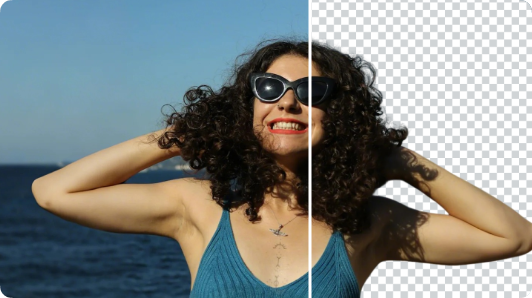
Background Remover
Isolate a subject from a generated concept when your next layout needs a cutout.
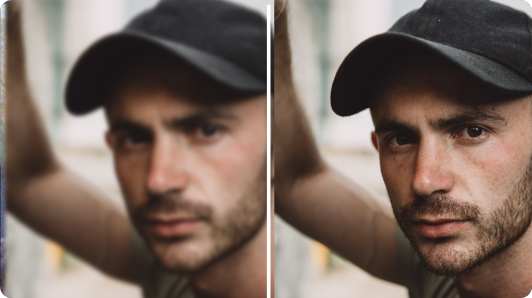
Photo Enhancer
Explore clarity improvements for an existing reference image.
AI Filter
Explore another artistic treatment for a drawing or visual concept.
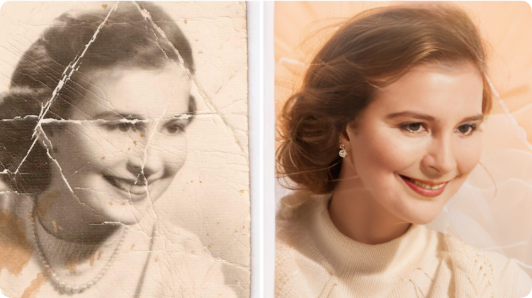
Old Photo Restoration
Give an older photograph attention before using it as visual inspiration.

They Love Dreamface

My Nook Idea Was Easier to Explain

The sketch showed where I wanted the bench, but the finishes were still in my head. Adding oak and warm plaster to the prompt gave me a useful visual direction to discuss. I kept the measurements in my original plan.

The Material Changed the Lamp

I drew a simple rounded lamp and wanted to imagine it in ceramic. Describing the glaze and studio light helped me explore that finish. I checked the shade shape because it was the part I cared about most.

My Character Had a Starting Point

I used a fox drawing with a scarf and a lantern. Naming those details in the prompt helped explain the character. I tried a gentle illustrated style and compared the pose with my sketch afterward.

A Rough Layout Was Useful

My landscape drawing was mostly a river bend and a few mountain lines. It still gave me a way to show the composition. Describing twilight and warm cabin light made the atmosphere much more specific.

A Cleaner Photo Helped the Brief

My first sketch photo included the edge of the table and a heavy shadow. I took a clearer picture and cropped it before continuing. That made the drawing itself much easier to work from.

I Knew What to Change Next

The first interpretation was more detailed than I wanted. Asking for a simpler background gave me a clearer comparison. I treated the result as a concept to develop rather than an exact copy of my lines.

My Nook Idea Was Easier to Explain

The sketch showed where I wanted the bench, but the finishes were still in my head. Adding oak and warm plaster to the prompt gave me a useful visual direction to discuss. I kept the measurements in my original plan.

The Material Changed the Lamp

I drew a simple rounded lamp and wanted to imagine it in ceramic. Describing the glaze and studio light helped me explore that finish. I checked the shade shape because it was the part I cared about most.

My Character Had a Starting Point

I used a fox drawing with a scarf and a lantern. Naming those details in the prompt helped explain the character. I tried a gentle illustrated style and compared the pose with my sketch afterward.

A Rough Layout Was Useful

My landscape drawing was mostly a river bend and a few mountain lines. It still gave me a way to show the composition. Describing twilight and warm cabin light made the atmosphere much more specific.

A Cleaner Photo Helped the Brief

My first sketch photo included the edge of the table and a heavy shadow. I took a clearer picture and cropped it before continuing. That made the drawing itself much easier to work from.

I Knew What to Change Next

The first interpretation was more detailed than I wanted. Asking for a simpler background gave me a clearer comparison. I treated the result as a concept to develop rather than an exact copy of my lines.