


How to Make a Trump Timeline Video With DreamFace
- AI Video
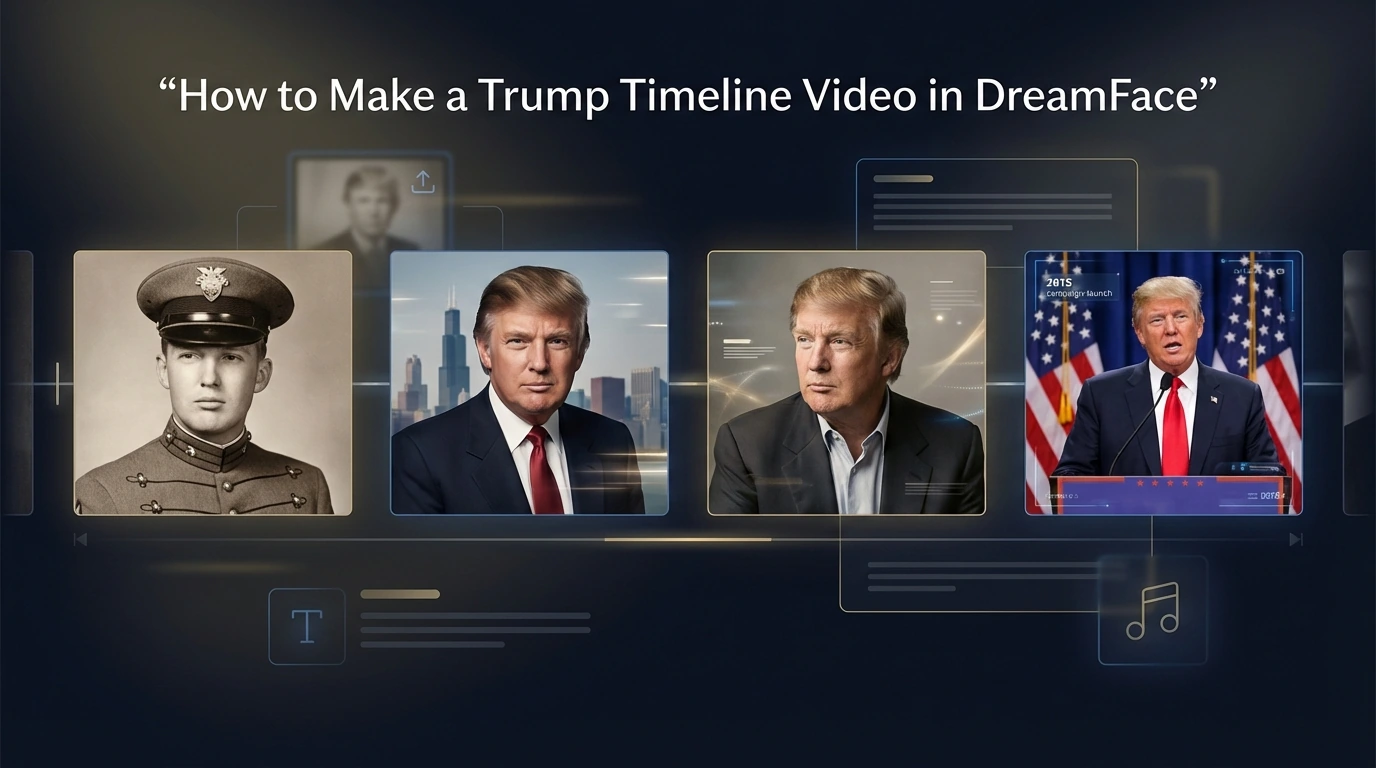
A timeline video is one of the easiest ways to turn a few important photos into a story that feels clear, engaging, and easy to follow. If you want to make a Trump life journey video, DreamFace gives you a simple workflow that does not require complex editing skills or a large number of images. With just four milestone photos, a short caption for each one, and a music track, you can create a video that shows a clear progression across different stages of his life.
For this tutorial, I used four photos from these moments:
- Around April 1964
- November 1, 1987
- October 7, 1999
- June 16, 2015
These four stages work well together because they create a natural timeline. The first image represents an early stage of Trump’s life, the second reflects his rise in business, the third marks an early political phase, and the fourth shows a major campaign moment. Instead of trying to include too many photos, this approach keeps the video focused and easy to watch.
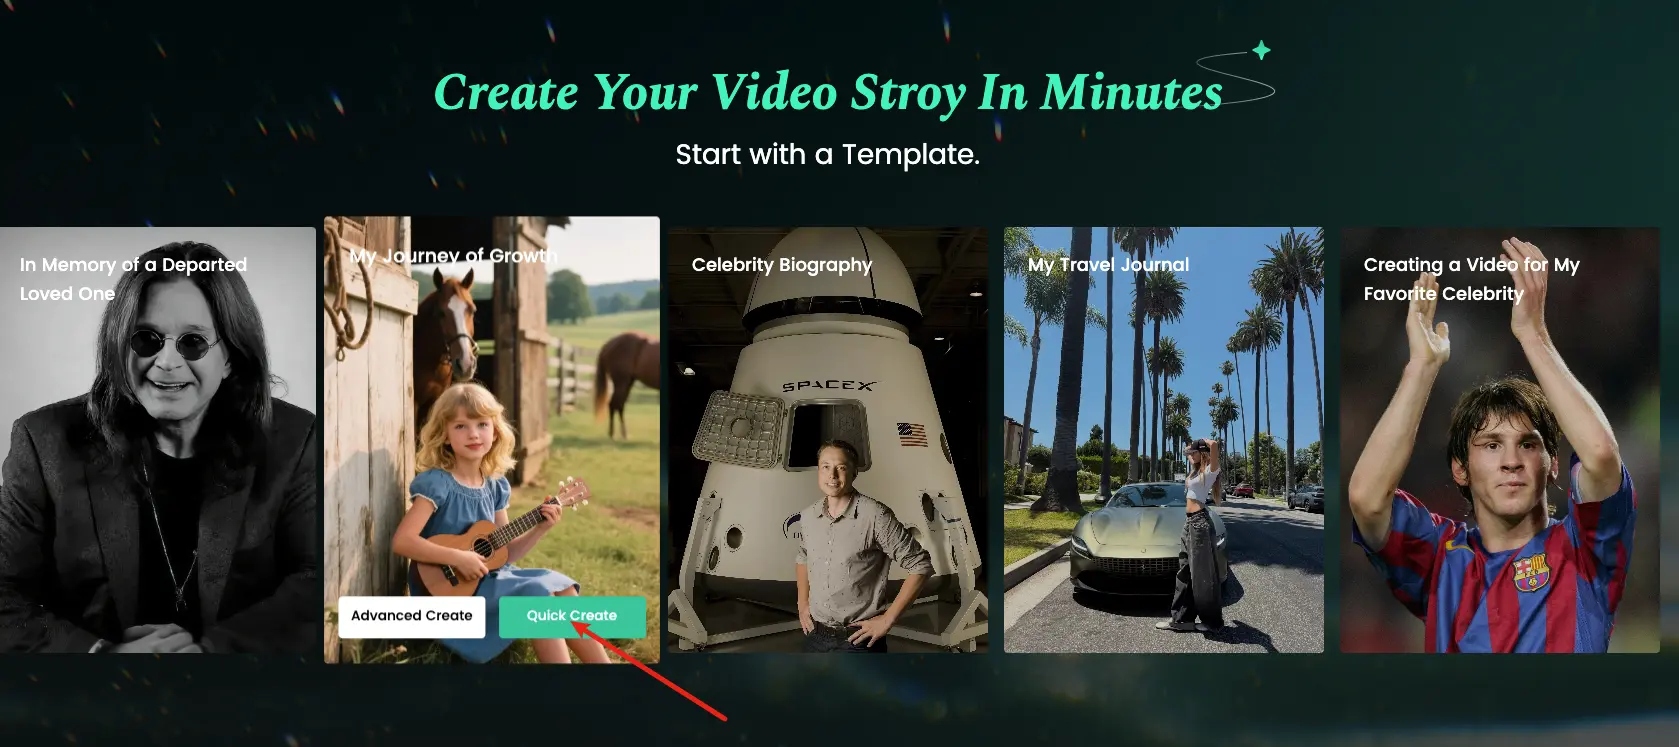
Step 1: Click Quick Start and upload the photos
Start by opening DreamFace and clicking Quick Start.
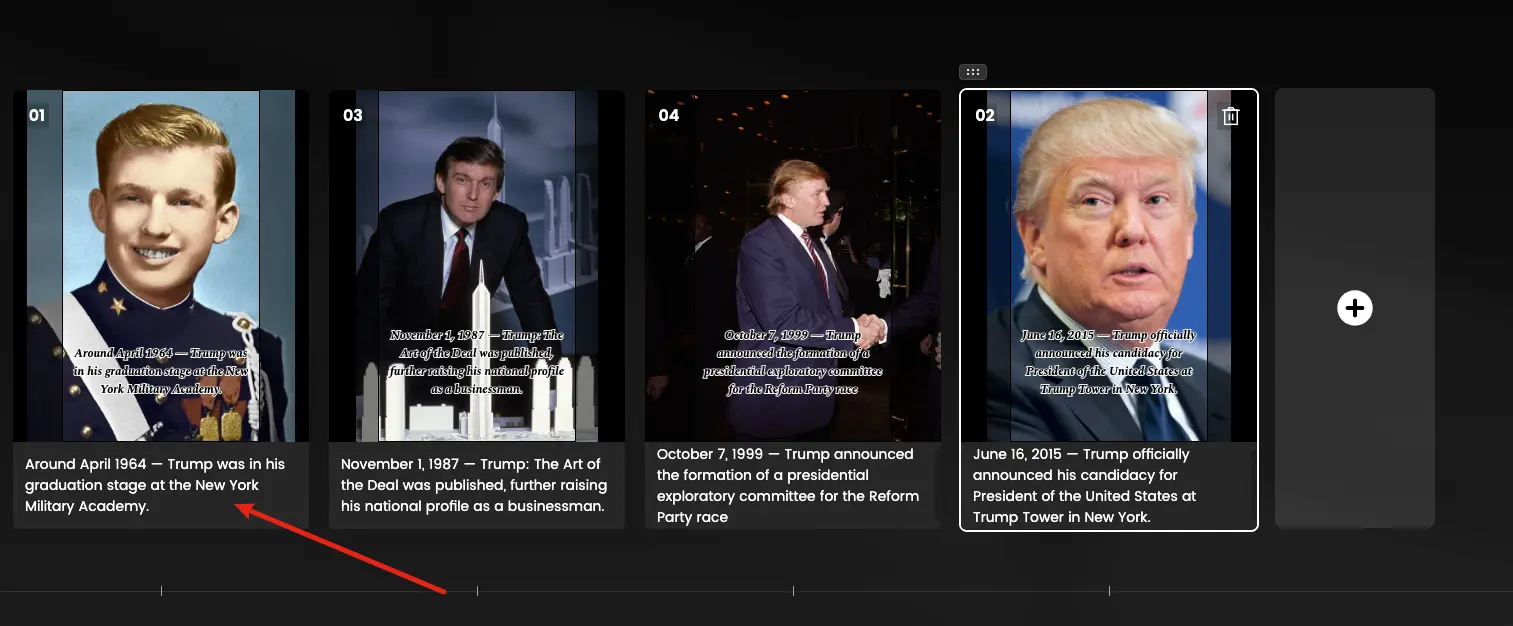
Once you are in, upload the four photos in chronological order. This is important because the sequence is what gives the video its story. When the photos are arranged from earliest to latest, viewers can understand the timeline immediately without needing extra explanation.
For this project, the order should look like this:
- Around April 1964
- November 1, 1987
- October 7, 1999
- June 16, 2015
Before uploading, it helps to choose photos that are clear and easy to recognize. Single-person photos usually work best because they keep the focus on the subject. If possible, use images with relatively similar framing or quality so the final video feels smoother from one stage to the next.
You do not need a large collection of images for this kind of video. In fact, using fewer photos often makes the final result stronger because each image has a more specific role in the story.
Step 2: Add a time marker and short description to each photo
After uploading the photos, the next step is to add a caption to each one.
The best format is simple: use a time marker and a short event description. That is enough to help viewers understand why each photo matters without making the video feel crowded.
Here is a clean example format:
- Around April 1964 — New York Military Academy stage
- November 1, 1987 — The Art of the Deal era
- October 7, 1999 — Exploratory committee stage
- June 16, 2015 — Official presidential campaign launch
This kind of caption works well because it is short, readable, and easy to process on screen. The date gives the viewer a clear place in the timeline, and the short description explains the significance of the image. There is no need to add long paragraphs or detailed background text.
Short captions are especially important in a timeline video because the video should keep moving. If the text is too long, viewers spend more time reading than watching. A simple caption keeps the focus on the image while still adding enough context.
Step 3: Choose music and click generate
Once the photos and captions are ready, the final step is to choose the music and generate the video.
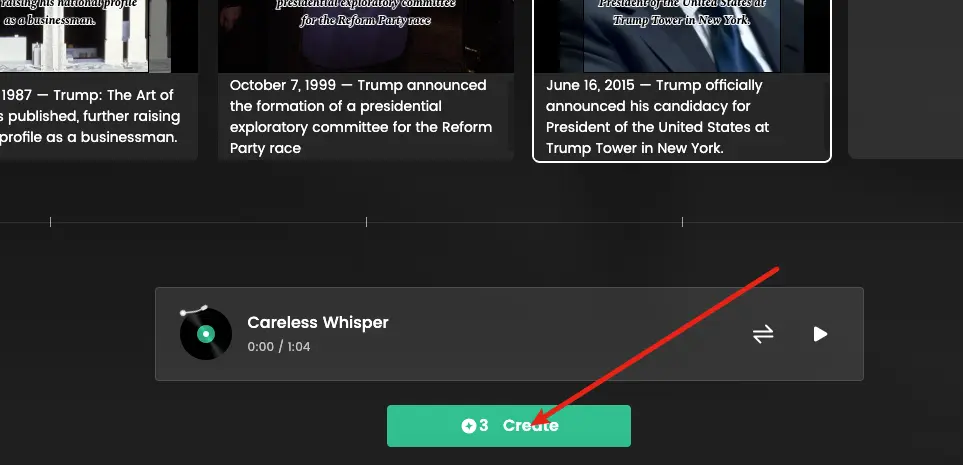
Music helps connect all four images into one complete viewing experience. Even though the photos come from different years, one consistent track can make the video feel unified from beginning to end.
For a project like this, instrumental music is usually the best option. It keeps the tone smooth and does not compete with the captions. You can choose a reflective track, a cinematic track, or something with a documentary-like feeling, depending on the style you want. A calm and steady track usually works well for a life journey video because it supports the timeline without overwhelming it.
After selecting the music, click Generate. DreamFace will turn your photos, captions, and music into a short timeline video.
When the video is ready, take a moment to review it. Check the photo order, make sure the captions are easy to read, and see whether the music fits the overall tone. If needed, you can quickly adjust a caption, replace a photo, or try a different track before generating again.
Final thoughts
Making a Trump timeline video with DreamFace is a simple process when you keep the structure clear. You only need three main steps: upload the photos, add short milestone captions, and choose music before generating the final video.
What makes this format effective is its simplicity. Instead of trying to include every detail, you select a few important moments and let the timeline tell the story. That makes the final video easier to understand and more enjoyable to watch.
This same method can also be used for many other projects, including biography videos, celebrity retrospectives, graduation stories, family memory videos, or personal life journey edits. Once you understand the basic structure, it becomes easy to repeat the process with different subjects and different photo sets.

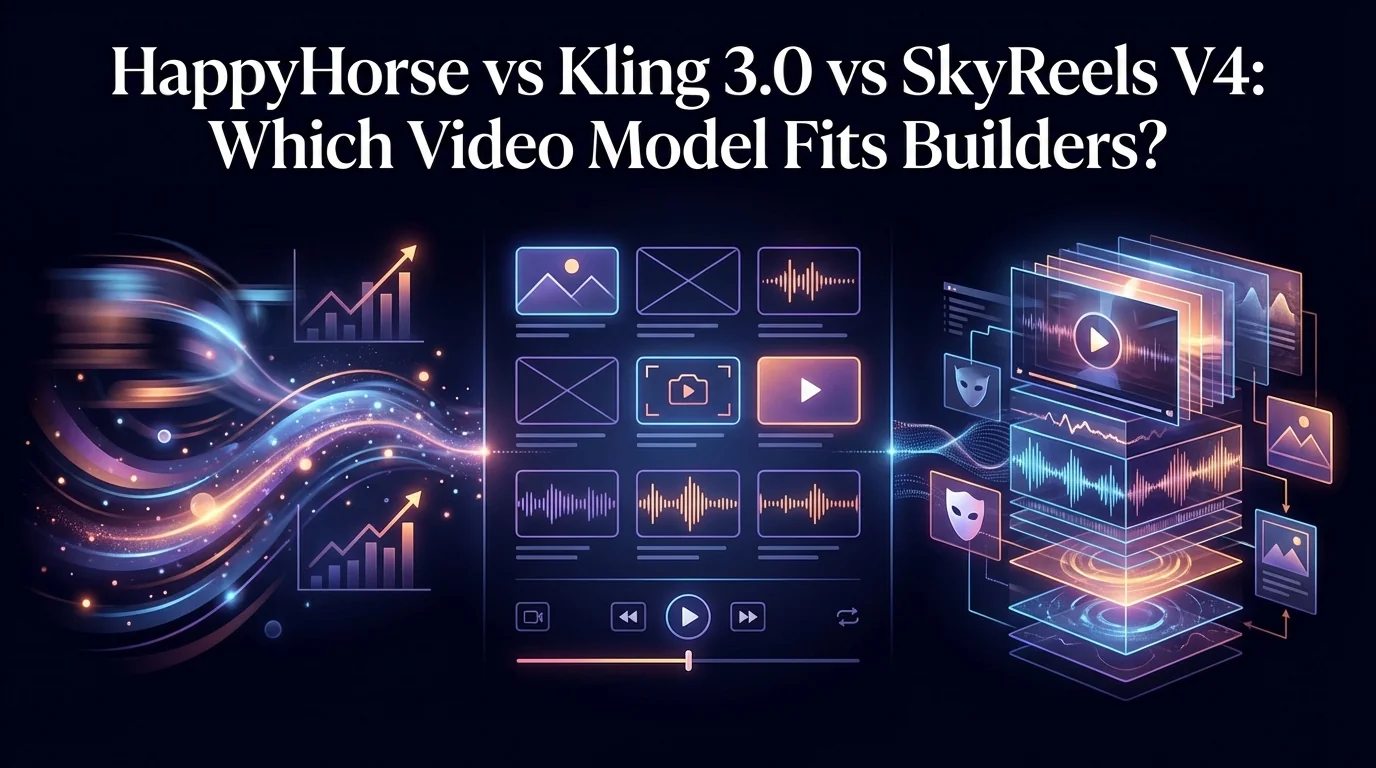
HappyHorse vs Kling 3.0 vs SkyReels V4: Which Video Model Fits Builders?
Compare HappyHorse-1.0, Kling 3.0, and SkyReels V4 on quality, audio, control, access, and production readiness to choose the right AI video stack in 2026.
By Joanna 一 Apr 15, 2026- AI Video
- AI Video Generator
- HappyHorse
Where to Try HappyHorse-1.0: Verified Access Guide
See where HappyHorse-1.0 is publicly accessible today, which options are hosted workspaces, and what still lacks clean release-level verification.
By Joanna 一 Apr 15, 2026- AI Video
- AI Video Generator
- HappyHorse
_11zon.webp)
Is HappyHorse-1.0 Really Open Source? What We Can Verify
HappyHorse-1.0 tops Artificial Analysis, but its open-source release is harder to verify. Here is what is confirmed, claimed, and still missing.
By Joanna 一 Apr 15, 2026- AI Video
- AI Video Generator
- HappyHorse
- X
- Youtube
- Discord